Creating MVC RESTful API with Backbone.js - Part 1
Web applications that are being developed now-a-days are highly interactive and
deserve a lot of client side scripting. JQuery helps but writing an application
solely with JQuery may create a javascript spaghetti with selectors and callbacks.
Backbone.js gives structure
to web applications by providing models with key-value binding and custom
events, collections with a rich API of enumerable functions, views
with declarative event handling, and connects it all to your existing API over a
RESTful JSON interface.
ASP.NET MVC 3 already facilitates creating RESTful API and because Backbone.js enforces communication to the server through RESTful interface, it's quite easy to blend these server-side and client-side frameworks together. In this series of blogs, I will try to elaborate how to do that in a very simple way. For integrating MVC with Backbone.js, we will be:
This is the first part of the series where I will be creating the RESTful interfaces.
First of all, I am creating an new MVC 3 project. I am choosing empty template and Razor as view engine:
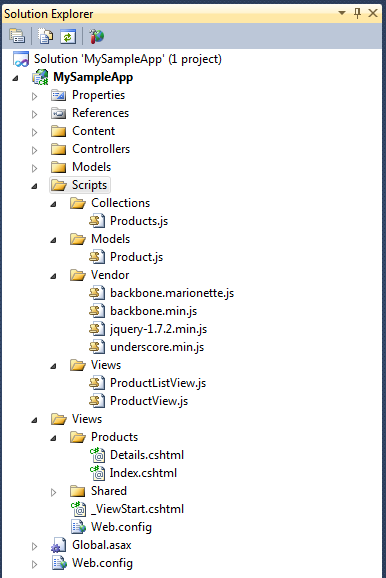
The new project is created with the following default structure:

Next I will be adding "Product" model for holding product information and will place
it inside the Models folder:
Now, I will be adding ProductsController by right-clicking on Controllers folder
then choosing <Add> option. The controller contains the index action by default.
I can create the corresponding view straight from here by right-clicking inside
the action and choosing <Add View> option. This will create a folder named
Products inside the Views folder:

Similarly, I am creating another action inside the controller which is called "Details"
and generating the corresponding view so that I will have the following solution
structure:
Now the remaining piece is to create the RESTful actions and configure the routes
accordingly. Before doing that need to know a bit about the RESTful interface. A
RESTful API means to provide unique URLs to represent unique entities and collections,
and there should be is no verb/action on the URL. Here is an example of RESTful
URIs:
- /collection - GET returns list of collection items, POST to this URI adds a new item to the collection.
- /collection/id - GET returns details of the item having the specified id, PUT and DELETE are supported on the same URI.
And here is how I do it inside the controller to manipulate products:
The accepted HTTP verb/method is defined as action filters on the top of each action
method. The ActionName attribute defines the name of the API to be exposed.
Finally I need to configure routes to invoke the API. I am adding "Product" route to the route registration method in Global.asax.
Finally I need to configure routes to invoke the API. I am adding "Product" route to the route registration method in Global.asax.
And that's all!
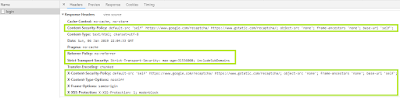
We can invoke this API to perform following operations on products:
- GET, PUT, DELETE of single product by invoking URI: /items/id
- Get all products by invoking URI: /items
- POST a new product by posting to URI: /items
Next we will be creating the Backbone model, collection and views on my next post.
Comments
Post a Comment